
For the exercises in this course, you are a technical analyst in the GIS department of your local city.
You have already created a workspace that reads in voting location points from a GML file and clips them to another layer of neighborhood polygons stored in a KML file. This workspace is used to backup data to a database, making some transformations to fit specifications for the database. Now you need to test publishing your data and workspace to FME Server, including running it to make sure the data was published correctly.
Open the starting workspace template using FME Workbench 2022.0 (or later).

You can see the workspace reads in Neighborhood polygons from KML and reprojects them to UTM83-10 to match VotingPlaces points (read from GML). The Clipper then clips VotingPlaces by the Neighborhoods boundaries and writes out a separate layer of voting places for each neighborhood. The neighborhood boundaries are also written as a layer.
In order for this workspace to run properly on FME Server, the Server machine needs access to VotingPlaces and Neighborhoods. In this example, these datasets are included in the workspace template. However, if the workspace was published as-is to Server, these datasets would not be available and the job would fail. In the remainder of the exercise, we'll go over how to upload the data when you publish the workspace.
Run the workspace locally to make sure it works before publishing it to Server. It should run successfully, although it will not actually write any data because we are using a NULL writer.
Publish the workspace to FME Server.
If it's saved, choose the previously created FME Server connection. Or, select Add Web Connection again from the dropdown menu to reconnect. If you are taking a Safe Software course, you can use these credentials:
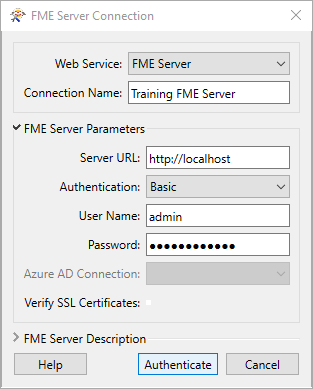
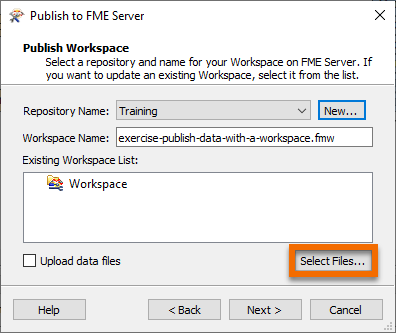
Create a repository by clicking the New... button, enter the name "Training". Enter a name for the workspace if it doesn't already have one.
You could check "Upload data files" to upload all the data files. But we want to make sure the correct data is being uploaded, so click the Select Files button:
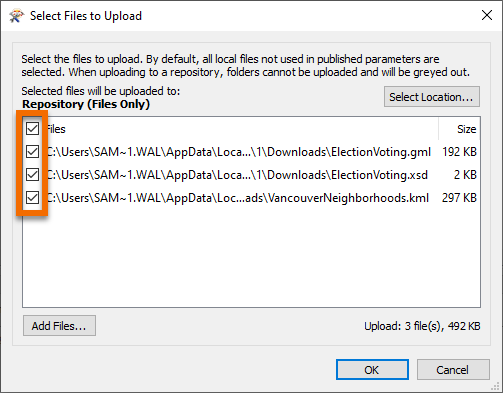
This dialog lists the files we are about to publish to the repository with the workspace. Place a checkmark against all files and click OK:
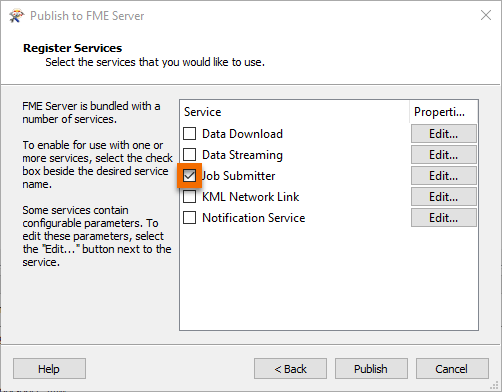
In the final dialog of the publishing wizard, choose Job Submitter as the service to register the workspace against, then click Publish.
If you have access to the FME Server computer itself, open a file browser and browse to the location that repository data is stored. Here it is C:\ProgramData\Safe Software\FME Server\repositories\Training:

You'll see that each workspace is saved to a separate folder. If you inspect the contents of a folder, you'll see the uploaded datasets within it.
This is how a workspace has access to files published with it. It can also, with some manual effort, access files stored with another workspace in the same repository, but this is not recommended.
Log in to FME Server (2022.0 or later) and locate and run the workspace. In the Run dialog, notice that the parameters for the source data paths include an FME environment variable, $(FME_MF_DIR):
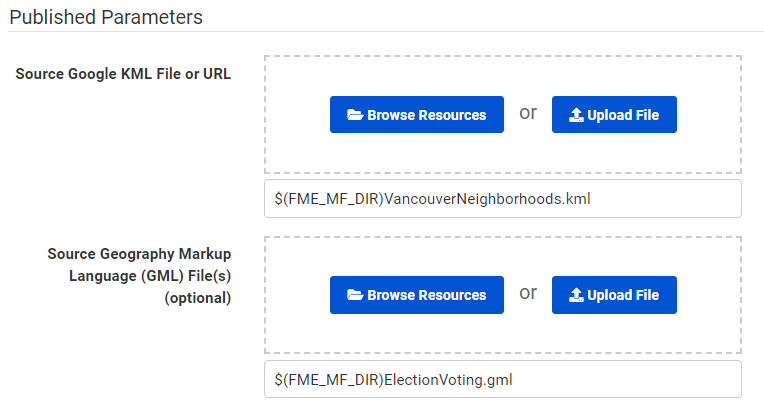
This variable tells FME to look in the same folder as the workspace for the source data files. As you can see, handling data in this way isn't particularly user-friendly, even though the workspace will run just fine.
Click Run, and the workspace should successfully find the data and run to completion.